Categories
Recipes

chili verde

I’d always been opposed to the idea of owning a crock pot. Our apartment is so tiny and it doesn’t seem possible to nestle another thing in between our kitchen aid mixer, vitamix, coffee maker, soda stream, food processor … so many gadgets … that I use surprisingly regularly. A crock pot also felt like giving up. Surrendering my culinary creativity to mushy foods that all taste and look the same. Not to mention the myriad of crock pot recipes that call for condensed soups, seasoning packets and all of those industrial food products that I just can’t get behind.

And then, around Thanksgiving, I was visiting my mom. We ran errands all day, hopping in and out of the car, driving from place to place, and got home around six in the evening. And her house, her house smelled amazing. The kind of smell that really makes you feel taken care of and instantly banishes the “what the hell are we having for dinner tonight” worry. Unbeknownst to me, my mom had thrown leeks, potatoes and vegetable stock into her crockpot before we’d left to take on the days errands, and now all that was left to do was to puree the soup and make a salad. This was when I realized that I could indulge the convenience of the crock pot without giving up good food.
chili-verde-4

Fast forward to Christmas, and my grandparents gifted us a crock pot. Since then I’ve been experimenting with a few new recipes, including my mom’s leek and potato soup. Most of these recipes could also be braised in a dutch oven or made on the stovetop, but I must again admit it is insanely nice to come home to a meal that is nearly ready to eat.

This chili verde is a mashup of several different recipes from around the Internet. It’s hard to go wrong when you combine tomatillos, chilis and pork. They’re made for each other. This version is not particularly spicy and makes enough for at least eight meals. Not surprisingly, it freezes well and you can easily reheat it in your crock pot and enjoy another round of chili verde at a later date. I’m starting to see why people like these things.

But, I still resist the microwave. It is my last stand.

Chili Verde
1 1/2 lbs tomatillos, taken out of their husks
1 onion, cut into eighths
6 cloves of garlic
4 serrano chilis, stemmed and de-seeded (Keep in mind that the heat of serranos is quite variable, it’s good to taste them to see how spicy they are before you increase the amount of chili you use)
3 lbs pork shoulder, peeled and cut into 1.5″ cubes
4 yukon gold potatoes, cut into 1″ cubes
1 orange, juiced (or 1/4 cup orange juice)
4 cups of chicken stock
1 teaspoon cumin
1 teaspoon dried oregano
2 bay leaves
salt and pepper
olive oil/bacon fat/lard
fresh cilantro, sour cream, avocado, cabbage, lime, tortillas and hot sauce/salsa for serving
chili-verde-1chili-verde-2

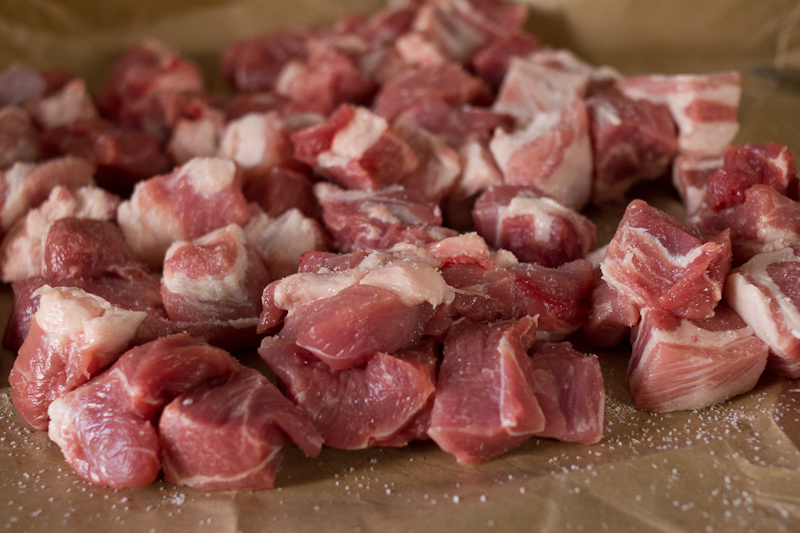
Cut your pork into one and half to two inch cubes. Season it with salt. Heat a tablespoon of oil/bacon fat/lard in a non-stick skillet over medium high heat. In batches, brown the pork on all sides. Put your first batch aside and brown the next few pieces. Continue until you’ve browned all of your pork. It will probably take somewhere in the neighborhood of 20 to 30 minutes to brown this much pork, but it adds a ton of flavor into the final dish.

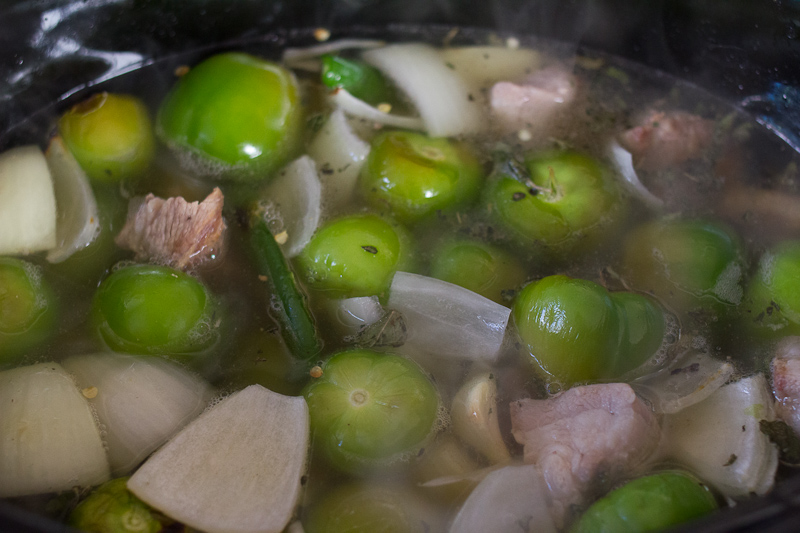
Meanwhile, line a baking sheet with parchment paper and spread the tomatillos, onion, garlic, and serrano chilis into a single layer. Turn your broiler to high and char the vegetables. You’re looking for a deep dark spots on all of the vegetables and for the tomatillos to look deflated. Pour your charred vegetables and all of their juice into your crock pot vessel, or into a dutch oven.

After you’ve browned all the pork, deglaze with some orange juice, chicken stock or water. Be sure to scrape up all the delicious browned bits and add those into your crock pot, along with all of the pork.

Add the potatoes, chicken stock, cumin, oregano, bay leaf, a little salt and pepper, and cover. (FYI – If this is too much to do before work, you can prep the recipe up until this point and refrigerate the entire dish, and then start the cooking in the morning). Set your crockpot to high and cook for 6 hours, or low and cook for 8 to 10 hours. If you’re cooking in a dutch oven in the oven, preheat your oven to 300° F and cook for about 4 hours. The pork should be super tender by the end of the cooking time, and the vegetables will have become a soupy sauce.

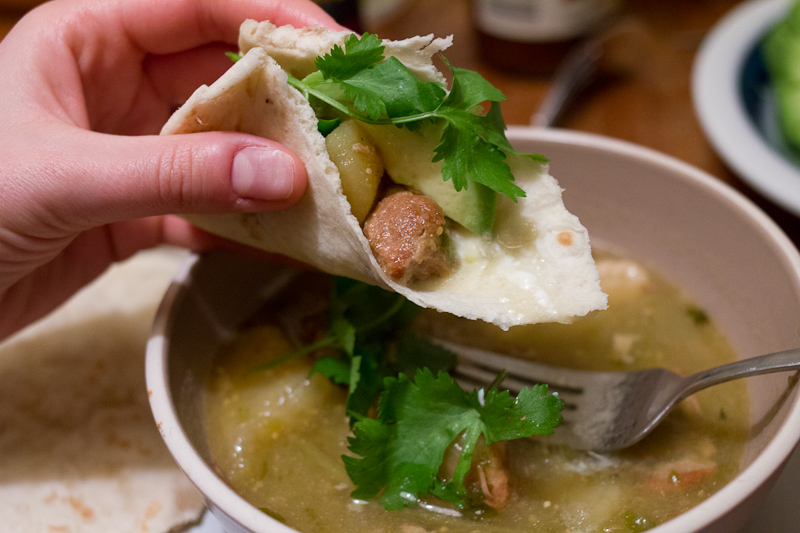
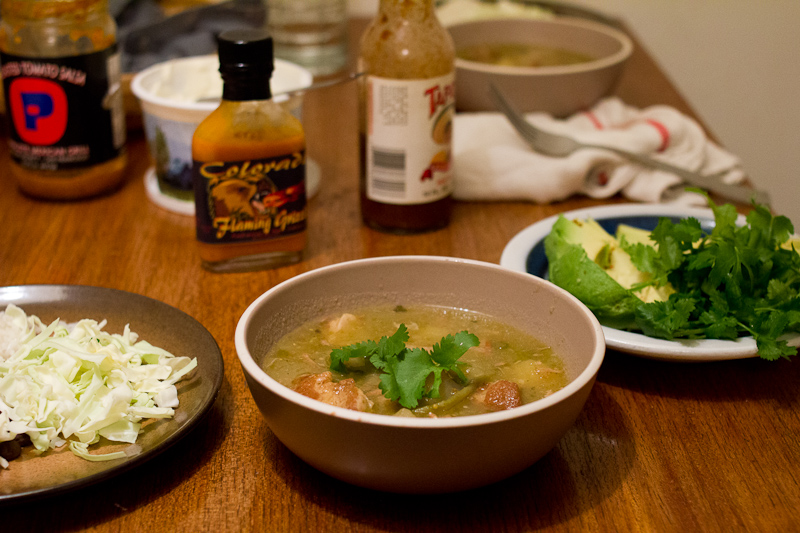
Taste for seasoning. Add more salt and pepper as needed. It may need salt, especially if your broth was unseasoned. I serve chili verde in a soup bowl with tortillas, cilantro, sour cream, avocado, salsa and cabbage on the side. This way folks can make their own mini tacos with whichever fixings they like best, and you get to drink up that delicious tomatillo broth at the end of the meal.
chili-verde-3

-Emily

Ps. Do you have a crock pot or crock pot-adaptable recipe that you love? Please send it my way! We’ll soon tire of the three dishes I’ve added into the meal rotation and I’ll need new ones to try. Gracias!
Categories
Recipes

julia child’s beef bourguignon

For my 22nd birthday, my Nonnie gave me a copy of Mastering the Art of French Cooking. Sitting at her kitchen table, as I unwrapped the tome that changed home cooking so monumentally, she gave me some advice. “Make the beef bourguignon first. And do not skip the bacon.”

beef-bourguignon--6

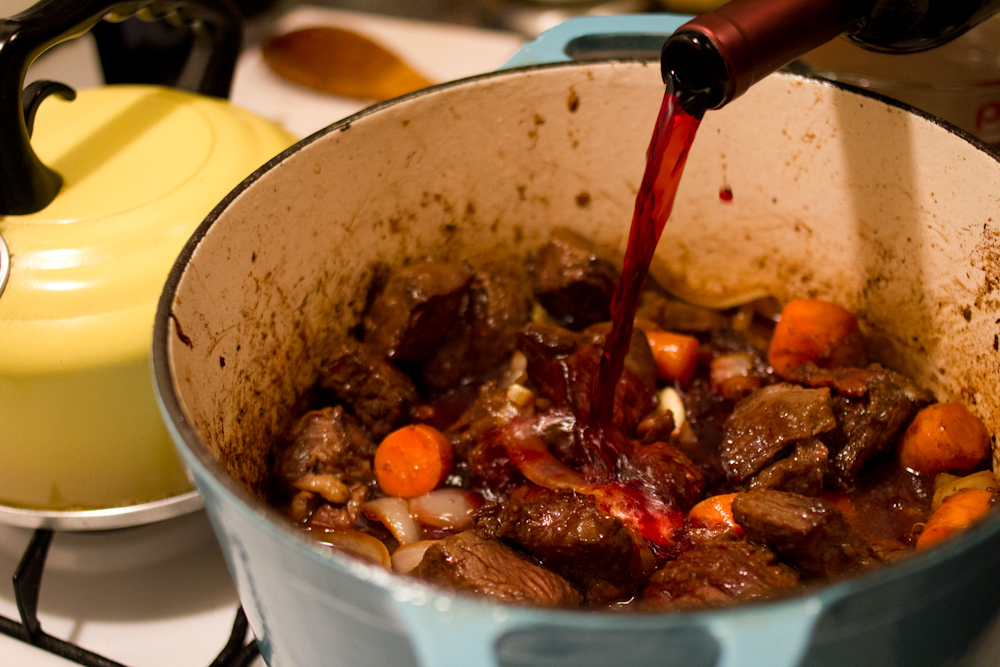
Like she is on most things culinary and otherwise, my Nonnie was right. Julia Child’s beef bourguignon is perfection, worth every bit of effort, and the bacon is absolutely essential. It is easily the best braised beef I’ve ever made and I’m sure those who’ve had the pleasure of eating it with us in years since I was first gifted the book would also agree.

And what is winter for if it isn’t to embrace braising? Dedicate an afternoon to Julia’s beef bourguignon, and don’t even think about skipping the bacon.

beef-bourguignon--10

Beef Bourguignon, adapted very slightly from Mastering the Art of French Cooking by Julia Child
6 oz bacon, cut into 1/2″ pieces
3 lbs lean stewing beef, cut into 2″ chunks (we used chuck roast)
1 carrot, sliced
1 onion, sliced
salt, pepper, olive oil
3 cups red wine
2 – 3 cups beef stock
1 tablespoon tomato paste
2 garlic cloves, mashed
1/2 teaspoon thyme
1 bay leaf, crumbled
20 small white onions, brown-braised
1 lb fresh mushrooms, cut into halves or quarters, sautéed in butter

beef-bourguignon--2 beef-bourguignon--3

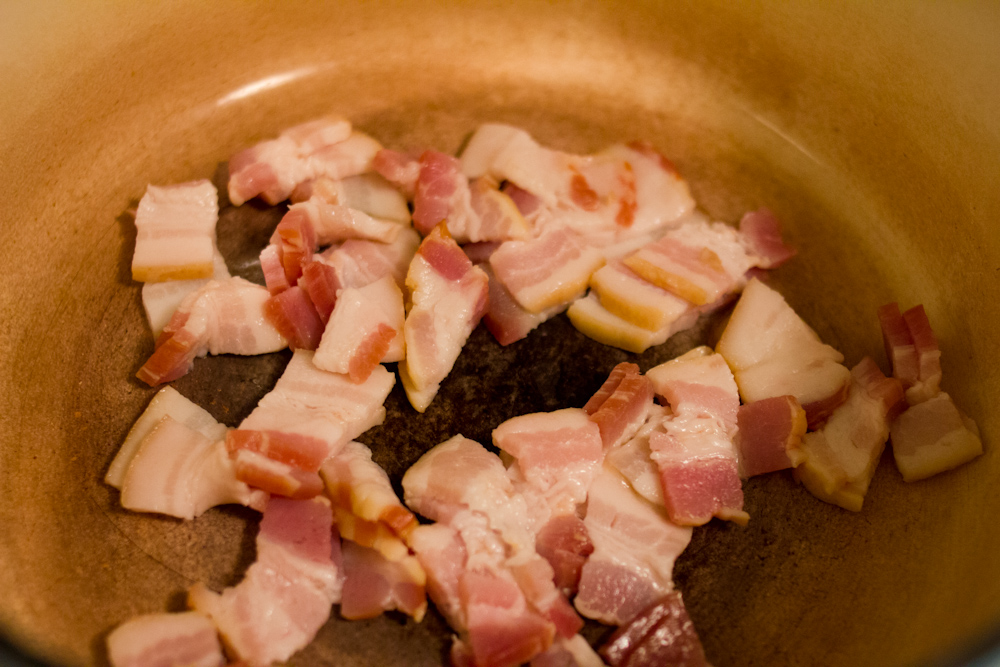
Preheat your oven to 450° F.  If you know your bacon is quite smoky, you may want to boil the bacon in some water for a few minutes to take out some of the smoke flavor before you sauté it. This is what Julia recommends, but I usually skip this step and skip right ahead to sautéing. In a cast iron pot, sauté the bacon over medium heat. After the bacon has browned lightly, remove it with a slotted spoon and set it aside. Take the pot with the bacon fat off the heat.

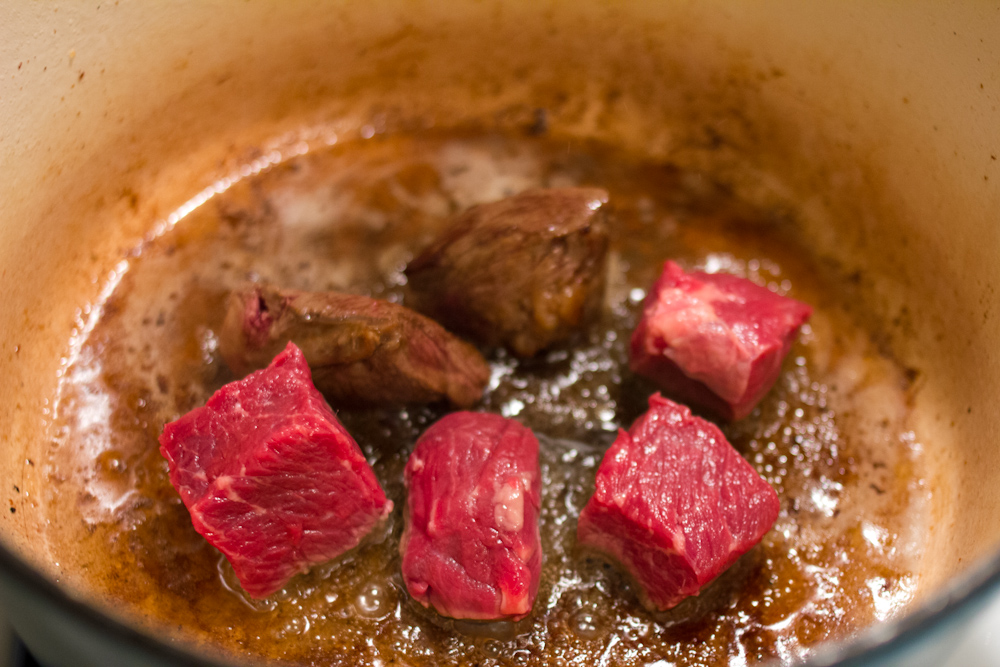
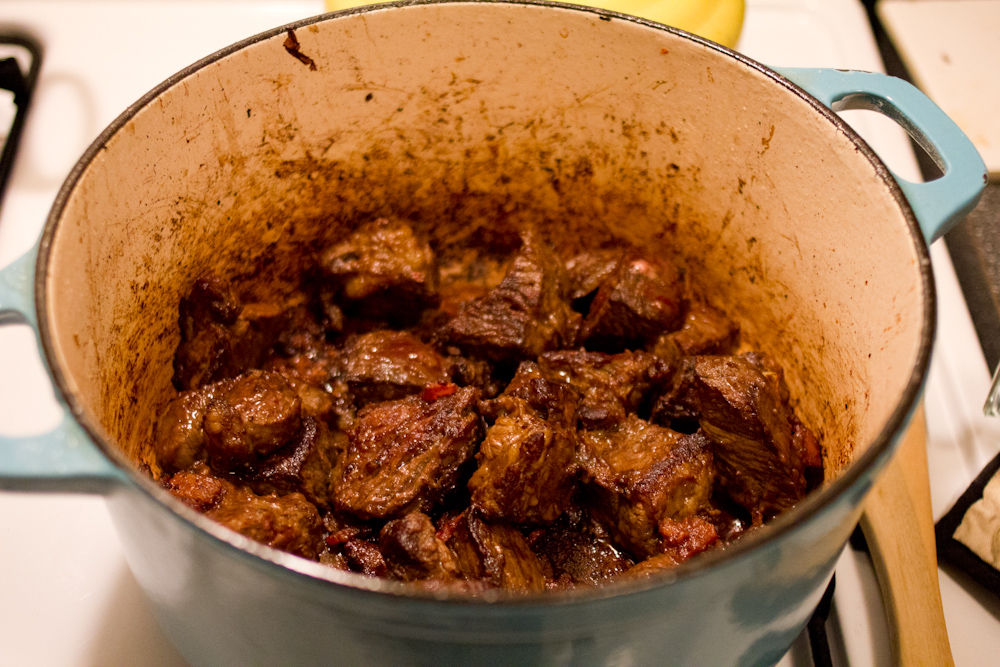
Cut the beef into 2 inch cubes and then pat them dry with paper towels. Heat the pot with the bacon fat over medium high heat until the fat is nearly smoking. If your bacon didn’t render off much fat, I would add a tablespoon of oil to the pot. Add a few cubes of the beef. Sear them, letting them sit without disturbing them for a few minutes per side, until they are a deep brown. Be sure to not crowd the pan or the beef will steam instead of browning. For about 2.5 pounds of meat, I did mine in four batches.

beef-bourguignon--4 beef-bourguignon--5

While the beef is browning, cut the onion and carrot into chunks. After browning the last of the meat, add the vegetables. Brown them slightly and then remove them and set them aside.

Put the beef and bacon back into the pot. Add 1 teaspoon of salt and some fresh black pepper. Toss the beef to coat. Add 2 tablespoons of flour and toss to coat again. Set the pot in the middle of your 450° oven and cook for 4 minutes. Toss the meat and cook for another 4 minutes in the oven. Reduce the heat of the oven to 325°. Return the pot to the stove top and add the vegetables, wine, broth, tomato paste, garlic, and herbs. The meat should be just barely covered by liquid. Bring to a simmer on the stove top and then place in the oven. Cook in the oven for 2 1/2 to 3 hours. The meat is done when a fork pierces it easily.

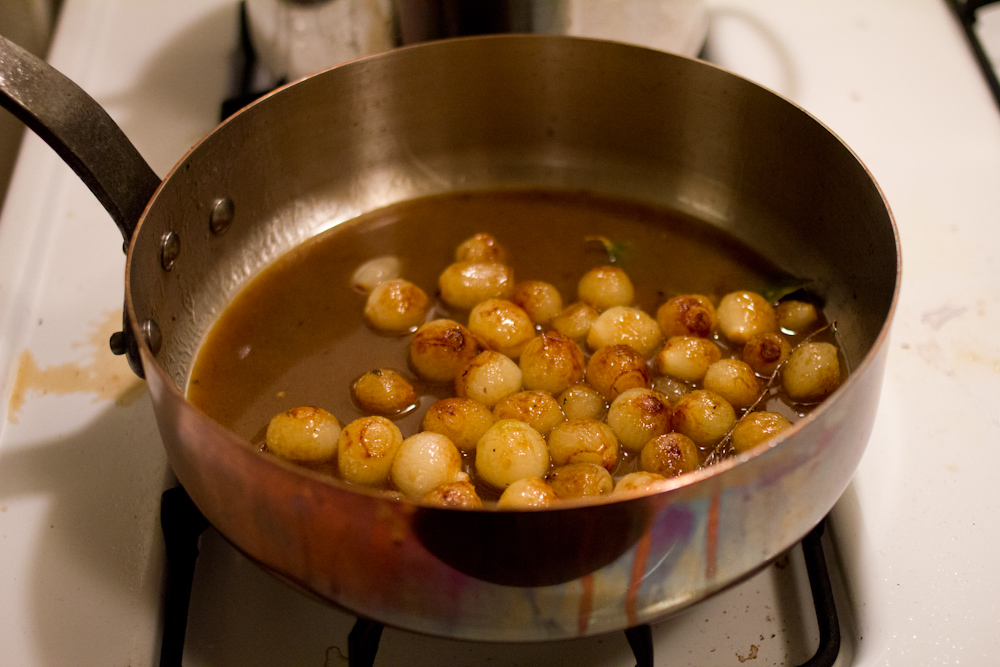
While the beef is cooking, prepare the pearl onions. For the pearl onions, peel them if using fresh. If using frozen, defrost in water. Melt 1 tablespoon of butter over medium heat. Add the onions and brown them on each side. Once browned, add 1/2 cup beef stock, a pinch of thyme and a bay leaf and reduce the heat to low. Let simmer covered for 20 minutes, until the onions are cooked through.


beef-bourguignon--8

If you’re making this in advance, you can prepare the beef and onions up until this point and then refrigerate them. You can then rewarm the beef by simmering it on the stove over low heat for 15 – 20 minutes before serving. I like to saute my mushrooms the day of serving because they are pretty easy to do while you’re cooking the potatoes.

In the last 45 minutes of cooking for the beef or 45 minutes before you want to eat, peel a few potatoes and cut them into quarters. Put them in a sauce pan and cover them with water. Season the water until it taste like sea water. Bring the potatoes to a boil and cook until tender, about 20 – 25 minutes. Drain the potatoes and mash them, adding a bit of butter, milk, salt and pepper to taste. I usually do this in my kitchen aid mixer.

For the mushrooms, clean 1 pound of mushrooms and then cut them into halves or quarters depending on their size. Sauté over medium heat in 2 tablespoons of butter, until browned and cooked through, about 10 minutes.

When the meat is tender, remove it from the oven and place on the stovetop. Skim off any fat that may be floating on the surface of the meat. In my experience, there is very little beef fat to skim off, but I generally cook with leaner grass-fed beef.  You skim off any fat to prevent a greasy gravy because greasy gravy is gross. Taste the sauce for seasoning; it may need a little salt or pepper. Before serving, add in the braised onions and sautéed mushrooms to pot along with the beef and vegetables. Serve over mashed potatoes with a gravy boat of extra sauce on the side.

beef-bourguignon--9

-Emily


Categories
Recipes

braised short ribs, aka how to win hearts and minds

This dish is everything that is magical about cooking. You take a cheap cut of meat and a cheap starch and turn them into a meal that would make someone fall in love with you. Braised short ribs over mashed potatoes drizzled with jus is everything you want out of a good meal—simple, satisfying, and supremely comforting.

Braised Short Ribs with Mashed Potatoes
2 lbs flanken style short ribs (plan for 2 pieces/ribs per person)
1 T canola oil
1 onion, cut into eighths
2 carrots, cut into 1 – 2 inch chunks
2 celery stalks, cut into 1 – 2 inch chunks
3 garlic cloves
2 cups red wine
3 sprigs thyme
2 cups chicken, vegetable or beef stock
salt and pepper

Sprinkle all sides of the ribs with salt and pepper. Heat the oil over medium heat in a cast iron dutch oven (or other stove and oven safe dish). Sear each side of the meat until it is a deep brown color. Your house will smell amazing at this point. Remove the beef from the dish and put it on a plate.

Reduce the heat to low. Add the vegetables and saute until light brown, about 20 minutes. Add the red wine and thyme. Bring to a boil. Return the meat to the dish. At this point, you can continue to braise the meat or you can put the whole dish in the fridge and finish it the next day. Trust me, only good things happen when you let meat marinade in red wine overnight.

Heat your oven to 350 degrees. Add the broth to the meat. The broth will not cover the meat entirely, which is just fine. Cook covered for an hour and a half. After 1 1/2 hours, remove the lid to allow some of the liquid to evaporate and the meat to brown. Cook for 45 more minutes, turning the meat once or twice. Meanwhile, make the potatoes.

After 45 minutes of additional cooking, remove the dish from the oven. Take the meat and vegetables from the dish and cover with tin foil to keep warm. Skim the excess fat of the braising liquid. The liquid should have thickened considerably into an amazing beefy sauce. Season the sauce with salt and pepper. Return the meat and vegetables to the dish and cover to keep warm.

Mashed Potatoes
2 lbs yukon gold potatoes (Yukon golds make the best mashed potatoes. Russets can be grainy.)
4 T butter, cut into 1 T pieces
1/4 cup milk

Put a pot of salted water to boil. Peel and quarter the potatoes. Boil the potatoes for 30 minutes, until fork tender. Strain the potatoes and put them in a large bowl. I used my stand mixer to make mashed potatoes for the first time. It was awesome and I recommend it highly. Add the butter to the potatoes and start to whisk. Add the milk and beat until smooth and fluffy.

To serve, make a mound mashed potatoes, top with the ribs and cover with sauce. Pour the remaining sauce in a gravy boat and bring that to the table as well. Add a side of green beans for good measure.

-Emily

Categories
Recipes

braised duck legs

The answer is always pork … except when it’s butter … or when it’s the topic of today’s post: duck fat!  I’ve been wanting to experiment with duck for quite some time, so I rode down to the Fatted Calf, picked up 2 duck legs and got to work.

I began by scoring the fat in a cross-hatched pattern so that it can render out.  I then seasoned the duck with salt, let it rest, and prepared mirepoix (half an onion, a carrot, and a stalk of celery, all finely diced).  Once everything was ready, I got to rendering. Just put the duck skin side down in a skillet over low heat and you’ll see the lovely fat fill the pan.

The picture above was after about 20 minutes and there was no fat in the pan when I started!

After you’ve rendered off most of the fat and the skin starts to brown (about 3o-40 minutes), flip and repeat on the other side.  Since there is much less fat on the other side, it will render much more quickly (maybe 5-10 minutes).  Remove the fat from the pan and save it; don’t throw it away!  Increase the heat to get good browning on both sides of the duck.  Remove the duck, lower the heat to medium, add the mirepoix, and cook until the onion is translucent (2-3 minutes).  Deglaze with about half a cup of wine, add a cup of broth, and bring to a simmer.  Put the duck back in the pan, cover, and place in a 300 degree oven for 2.5-3 hours.  I also added a sprig of rosemary, some fresh oregano, and a couple cloves of garlic for good measure.

Once the duck is tender, remove it from the oven, set aside and keep warm.  You can make a sauce from the braising liquid if you’d like.  When you’re ready to serve, just throw those legs under the broiler skin side up until it’s brown and crispy.

Conclusions:
This was delicious and a simple sauce made from the braising liquid added some nice flavor.  I just took out the herbs and then blended, strained, slightly reduced it, and adjusted the flavors in accordance my current mood.  This dish was also quite easy because you leave it alone most of the time; while the duck was rendering I was in the kitchen reading for school, and the rest of the time I simply ignored it all together.  One final thought: the same rendering technique can be used for duck breasts as well if you feel like being fancy, just render the skin side nice and slow until it’s brown, then sear the other side over high heat until medium-rare.

-Jordan