Categories
Recipes

coq au vin

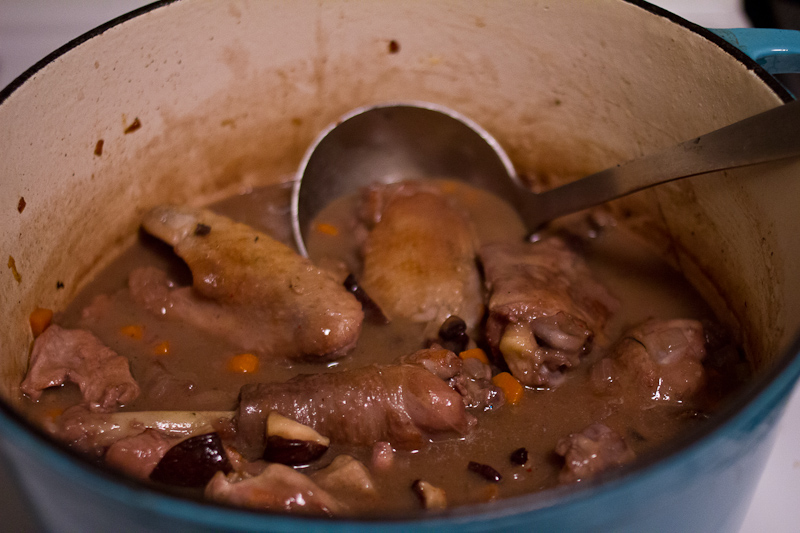
The second way we wanted to test cooking our beautiful chicken from Eatwell Farm was to braise it. The first thing that comes to mind when I think of braised chicken is coq au vin, and the second is Julia Child. (I won’t be offended if you click that link right now and improve your day significantly by watching a few minutes of The French Chef).

My love for Julia is great. She’s taught me many things over the years, things that are just as useful in the kitchen as outside of it. The most important is probably confidence (Never apologize!!!), and the second, humor (“They’ll never know!”, she winks and scrapes an omelet that jumped ship right back into the pan). Julia’s warmth and enthusiasm for life are something I aspire to, and when I cook her recipes, I feel that much closer to it.

eatwell-coq-au-vin-5

Coq au vin tastes like comfort. You can’t go wrong with the slow simmered combination of chicken, wine and vegetables, it turns out delicious every time. And it’s impossible to not feel taken care of after you eat it. Isn’t that feeling, that love and community, exactly what inspires us every time we prepare a meal to share.

Coq au Vin, adapted from Julia Child’s Mastering the Art of French Cooking
1-3 to 4 pound chicken, broken down (legs, thighs, wings, breasts, you know the drill)
1 onion, diced
3 carrots, diced
2 cloves of garlic, diced
1/4 cup cognac
2 cups dry red wine
2 cups chicken stock (homemade if you got it, but if not, Better Than Bouillon concentrate isn’t half bad)
a few sprigs of thyme
a bay leaf
salt, pepper
2 tablespoons of bacon fat or oil
3 tablespoons butter
2 tablespoons flour
3/4 pound cremini mushrooms, cut into quarters

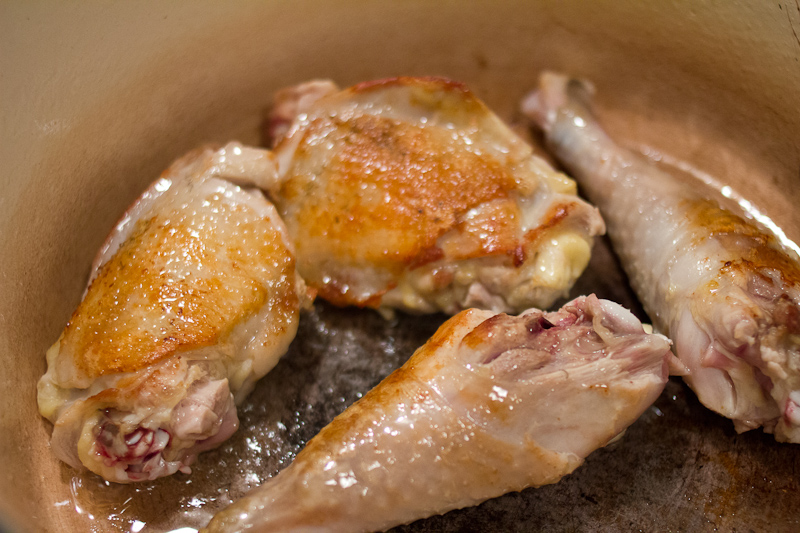
Preheat your oven to 300° F. Sprinkle the chicken pieces on both sides with salt. In a dutch oven over medium heat, heat the bacon fat or oil. Brown the chicken pieces on both sides. I’d do it in two batches so you don’t crowd the pan. Remove the browned chicken from the pot and set aside.

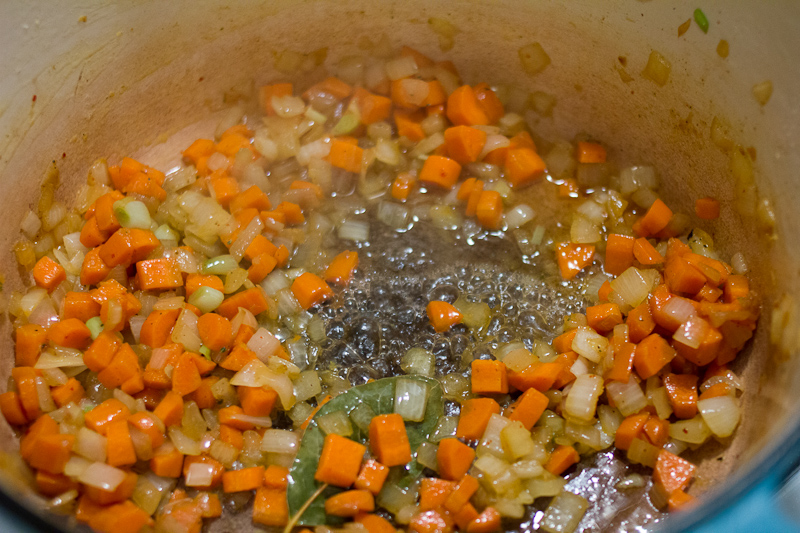
eatwell-coq-au-vin-1eatwell-coq-au-vin-2

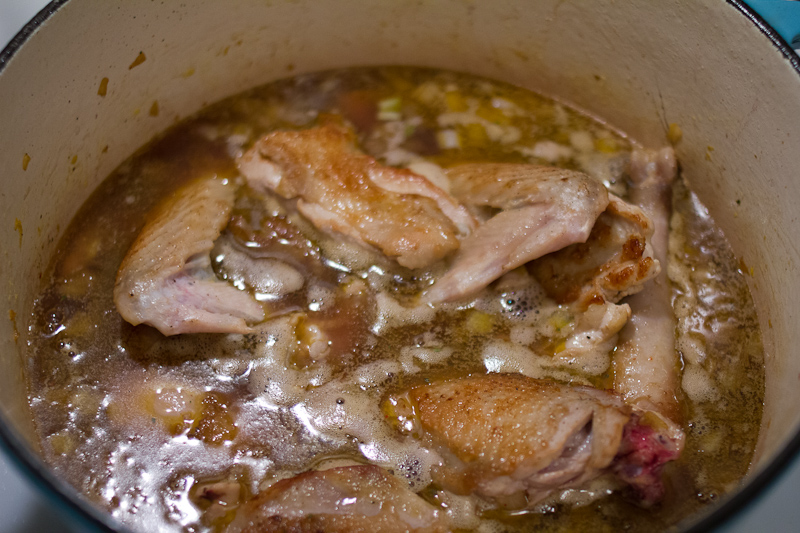
Add a bit more bacon fat or oil and sauté the vegetables until the onions are translucent, 7 – 10 minutes. Deglaze the pan with 1/4 cup of cognac and then pour in the wine and chicken stock. Add the chicken back in along with a few sprigs of thyme and a bay leaf. Bring everything to a boil.

eatwell-coq-au-vin-3eatwell-coq-au-vin-4

Once it boils, cover the pot and put it in the oven. Let simmer for about 40 minutes. Meanwhile, brown the mushrooms. Warm 1 tablespoon of butter in a pan. Add the mushrooms and brown them, stirring occasionally, about 10 minutes. Remove the mushrooms and put them on a plate.

After about 40 minutes, though you could go longer if you have a tough bird, remove the braise from the oven, and put it back on the stovetop. Fish out the chicken pieces and put them aside on a plate.

In the pan you browned the mushrooms in, melt 2 tablespoons of butter. When the butter is melted, add 2 tablespoons of flour. Cook the roux for a few minutes, until it is a light golden brown. Add the roux to the braising juices and whisk to combine. Bring the braising liquid back to a boil and the sauce will thicken nicely. Season the sauce with salt and pepper and then add the chicken and mushrooms back in.

You can serve the coq au vin immediately, or turn off the heat, cover and rewarm when you’re ready to eat. We served ours with mashed potatoes, but rice or pasta would also do just fine. It’s good to have something to soak up the sauce.

eatwell-coq-au-vin-6

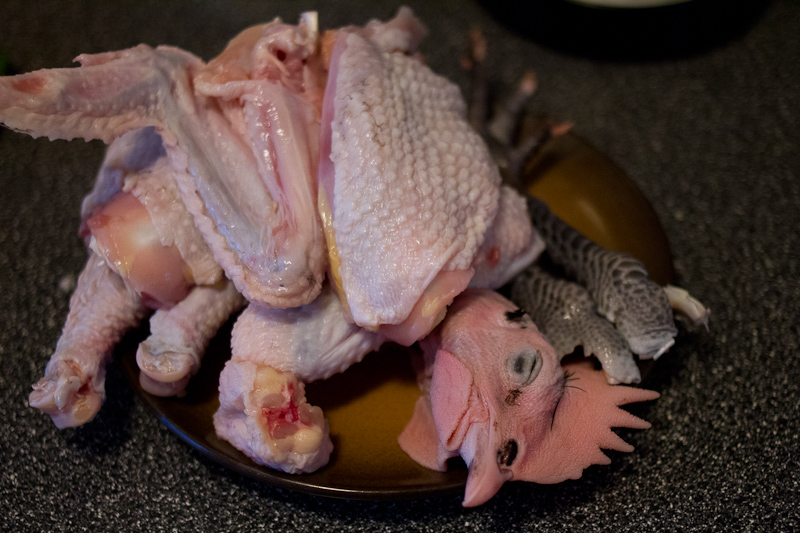
Isn’t that roasted chicken head a sight to behold?! The coq au vin is on the left, and Jordan knocked that sauce out of the park.

-Emily

Ps. If you really want to nerd out and love Julia Child even more, read My Life in France, and then read this phenomenal biography by Bob Spitz. And if you’re in a bad mood, watch a few episodes of The French Chef. You cannot help but smile.
Categories
Recipes

julia child’s beef bourguignon

For my 22nd birthday, my Nonnie gave me a copy of Mastering the Art of French Cooking. Sitting at her kitchen table, as I unwrapped the tome that changed home cooking so monumentally, she gave me some advice. “Make the beef bourguignon first. And do not skip the bacon.”

beef-bourguignon--6

Like she is on most things culinary and otherwise, my Nonnie was right. Julia Child’s beef bourguignon is perfection, worth every bit of effort, and the bacon is absolutely essential. It is easily the best braised beef I’ve ever made and I’m sure those who’ve had the pleasure of eating it with us in years since I was first gifted the book would also agree.

And what is winter for if it isn’t to embrace braising? Dedicate an afternoon to Julia’s beef bourguignon, and don’t even think about skipping the bacon.

beef-bourguignon--10

Beef Bourguignon, adapted very slightly from Mastering the Art of French Cooking by Julia Child
6 oz bacon, cut into 1/2″ pieces
3 lbs lean stewing beef, cut into 2″ chunks (we used chuck roast)
1 carrot, sliced
1 onion, sliced
salt, pepper, olive oil
3 cups red wine
2 – 3 cups beef stock
1 tablespoon tomato paste
2 garlic cloves, mashed
1/2 teaspoon thyme
1 bay leaf, crumbled
20 small white onions, brown-braised
1 lb fresh mushrooms, cut into halves or quarters, sautéed in butter

beef-bourguignon--2 beef-bourguignon--3

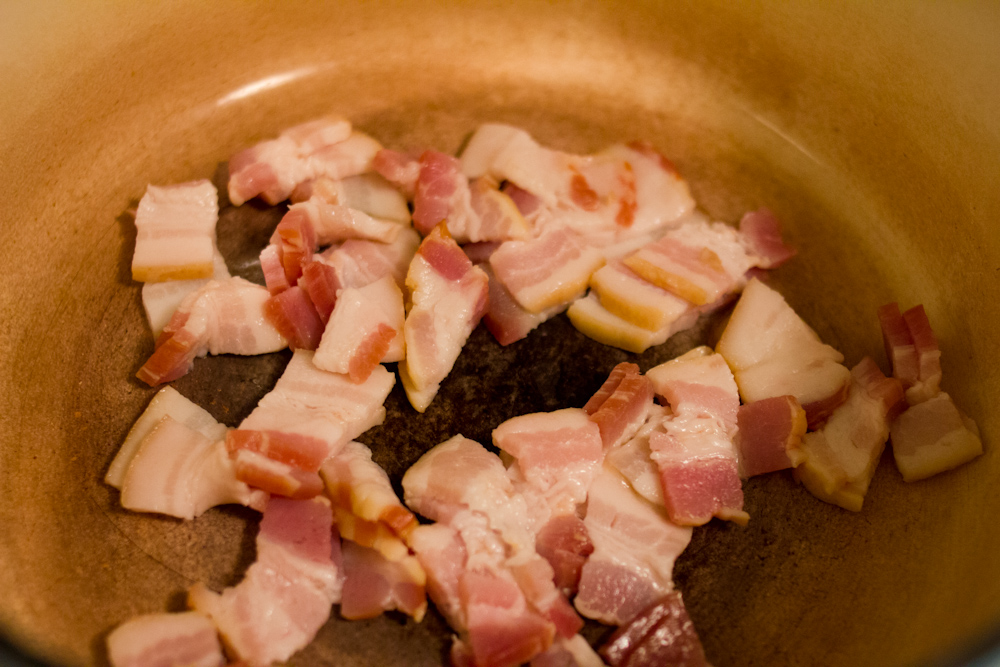
Preheat your oven to 450° F.  If you know your bacon is quite smoky, you may want to boil the bacon in some water for a few minutes to take out some of the smoke flavor before you sauté it. This is what Julia recommends, but I usually skip this step and skip right ahead to sautéing. In a cast iron pot, sauté the bacon over medium heat. After the bacon has browned lightly, remove it with a slotted spoon and set it aside. Take the pot with the bacon fat off the heat.

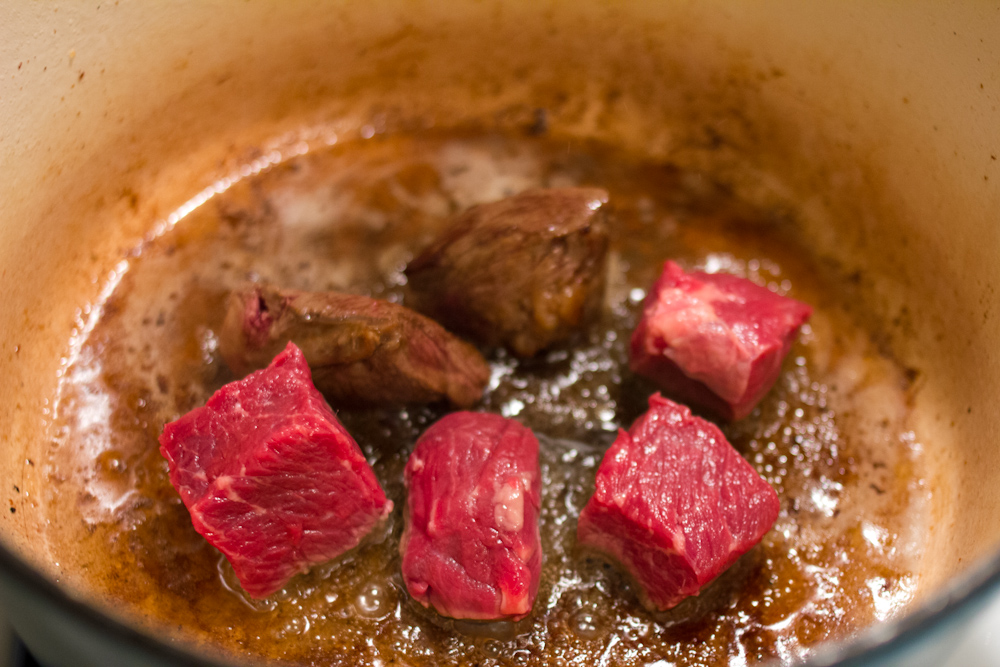
Cut the beef into 2 inch cubes and then pat them dry with paper towels. Heat the pot with the bacon fat over medium high heat until the fat is nearly smoking. If your bacon didn’t render off much fat, I would add a tablespoon of oil to the pot. Add a few cubes of the beef. Sear them, letting them sit without disturbing them for a few minutes per side, until they are a deep brown. Be sure to not crowd the pan or the beef will steam instead of browning. For about 2.5 pounds of meat, I did mine in four batches.

beef-bourguignon--4 beef-bourguignon--5

While the beef is browning, cut the onion and carrot into chunks. After browning the last of the meat, add the vegetables. Brown them slightly and then remove them and set them aside.

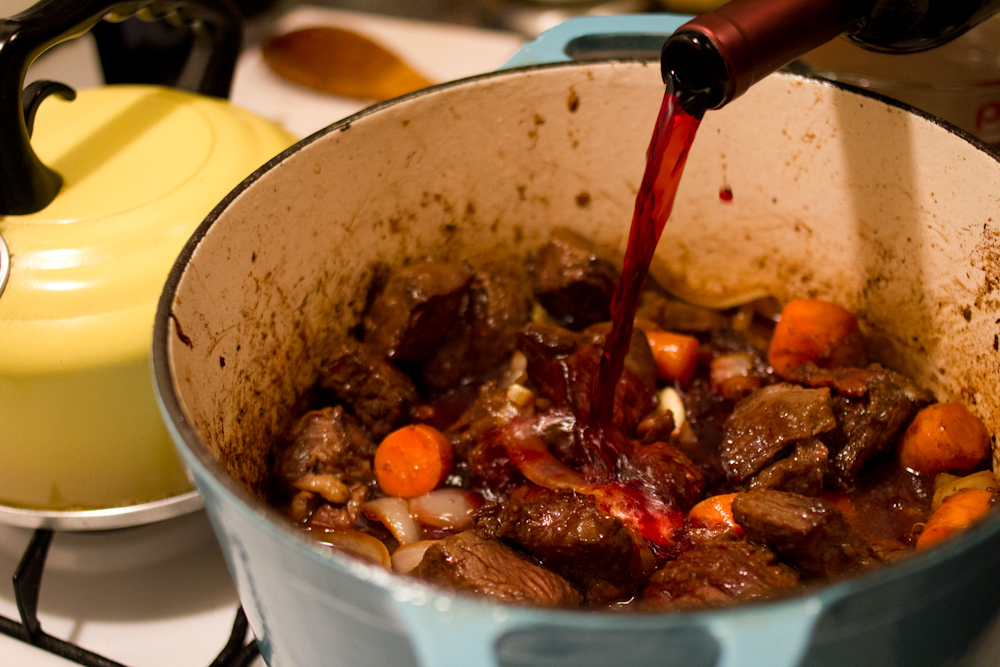
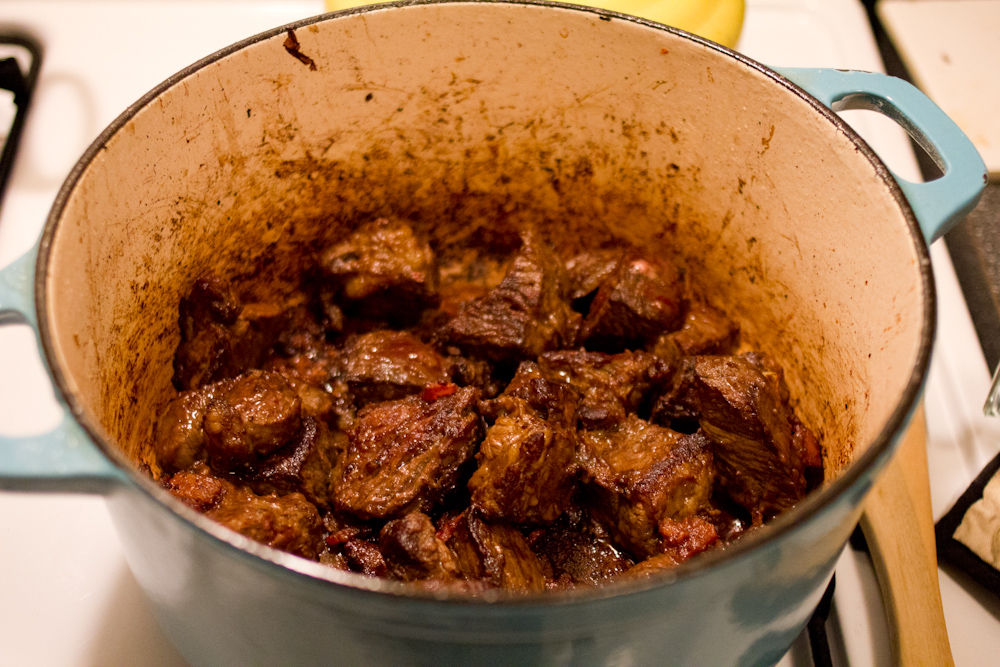
Put the beef and bacon back into the pot. Add 1 teaspoon of salt and some fresh black pepper. Toss the beef to coat. Add 2 tablespoons of flour and toss to coat again. Set the pot in the middle of your 450° oven and cook for 4 minutes. Toss the meat and cook for another 4 minutes in the oven. Reduce the heat of the oven to 325°. Return the pot to the stove top and add the vegetables, wine, broth, tomato paste, garlic, and herbs. The meat should be just barely covered by liquid. Bring to a simmer on the stove top and then place in the oven. Cook in the oven for 2 1/2 to 3 hours. The meat is done when a fork pierces it easily.

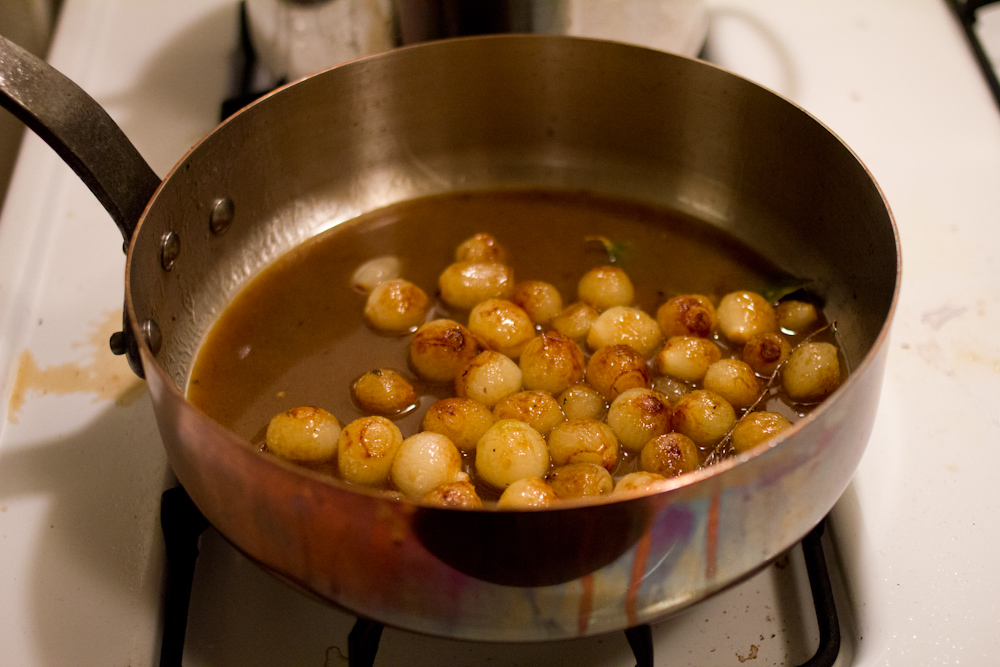
While the beef is cooking, prepare the pearl onions. For the pearl onions, peel them if using fresh. If using frozen, defrost in water. Melt 1 tablespoon of butter over medium heat. Add the onions and brown them on each side. Once browned, add 1/2 cup beef stock, a pinch of thyme and a bay leaf and reduce the heat to low. Let simmer covered for 20 minutes, until the onions are cooked through.


beef-bourguignon--8

If you’re making this in advance, you can prepare the beef and onions up until this point and then refrigerate them. You can then rewarm the beef by simmering it on the stove over low heat for 15 – 20 minutes before serving. I like to saute my mushrooms the day of serving because they are pretty easy to do while you’re cooking the potatoes.

In the last 45 minutes of cooking for the beef or 45 minutes before you want to eat, peel a few potatoes and cut them into quarters. Put them in a sauce pan and cover them with water. Season the water until it taste like sea water. Bring the potatoes to a boil and cook until tender, about 20 – 25 minutes. Drain the potatoes and mash them, adding a bit of butter, milk, salt and pepper to taste. I usually do this in my kitchen aid mixer.

For the mushrooms, clean 1 pound of mushrooms and then cut them into halves or quarters depending on their size. Sauté over medium heat in 2 tablespoons of butter, until browned and cooked through, about 10 minutes.

When the meat is tender, remove it from the oven and place on the stovetop. Skim off any fat that may be floating on the surface of the meat. In my experience, there is very little beef fat to skim off, but I generally cook with leaner grass-fed beef.  You skim off any fat to prevent a greasy gravy because greasy gravy is gross. Taste the sauce for seasoning; it may need a little salt or pepper. Before serving, add in the braised onions and sautéed mushrooms to pot along with the beef and vegetables. Serve over mashed potatoes with a gravy boat of extra sauce on the side.

beef-bourguignon--9

-Emily


Categories
Recipes

julia child’s onion soup

I’ve been talking about making French onion soup for a while now and the stars aligned on Monday after my weekend stock-making adventure. What better way to showcase my labor of love than in a ultra-simple dish like onion soup. Again I turned to Julia for the recipe.

Soupe A L’Oignon, from Mastering the Art of French Cooking
1 1/2 lbs (about 5 cups) of yellow onions,  thinly sliced
3 T butter
1 T oil
1 t salt
1/4 t sugar
3 T flour
2 quarts brown stock, hot
1/2 cup dry white wine
salt and pepper
crusty bread
gruyere cheese

In a heavy stock pot or dutch oven, cook the onions slowly in butter and oil covered for 15 minutes.  Uncover, raise heat to medium and stir in the salt and sugar. Cook onions for 30 – 40 minutes, stirring often, until golden brown. Sprinkle in flour and cook for 3 more minutes. Take of the heat and stir in the broth. Add the wine and simmer for 40 minutes more. Season with salt and pepper.

Just before serving, toast bread on both sides. Sprinkle cheese onto the top of the crouton and broil until melted and bubbly. Ladle soup into bowls and top with cheesy crouton (or two or three). The cheesy crouton and soup combo is amazing.

-Emily

Categories
Recipes

white stock, brown stock

An ambitious cooking project is quickly becoming my Sunday tradition. This week I decided to make use of the multiple chicken carcasses Jordan has been hoarding in our freezer and make stock. And while I was at it, I thought that I may as well make beef stock so I bought some beef knuckles at the market.

I followed Julia Child’s recipes for a basic white stock and basic brown stock. The cooking method for both is nearly the same, with an extra bone-roasting step for the brown stock. Making stock from scratch is very simple, but time intensive. The stuff has to simmer for 4 – 6 hours to get the most flavor out of the bones and bits of meat, but it is absolutely worth the time investment. The flavor of canned or boxed broth pales in comparison to that of homemade stock.

White or Brown Stock, from Mastering the Art of French Cooking
3 lbs of chicken or beef bones
2 onions, peeled and cut in half
2 stalks celery, cut into quarters
2 carrots, cut into quarters
herb bouquet (2 cloves of garlic, 3 sprigs of parsley, 1 sprig of thyme, 2 whole cloves, 1 bay leaf tied up in a cheese cloth)
water
salt, pepper


For just the brown stock, preheat an oven to 400 degrees. Roast the bones, onion and carrot for 40 minutes until deep brown in color, turning the bones occasionally to brown all sides.

For both stocks, pour bones into a large stock pot, add vegetables and herb bouquet. Fill with water to cover the bones. Simmer uncovered for 4 – 6 hours, skimming the debris of the top occasionally. Once the stock has reached your desired degree of meatiness, season with salt and pepper and let cool to room temperature.

Once the stock has cooled, refrigerate it. The fat will separate and congeal at the top and then you can easily scrape it off. Divide the stock into freezer bags or tupperware and cram them into your already tamale-laden freezer.

And if you are looking for a recipe to enjoy your homemade stock try making easy noodle soup, gravy for chicken and waffles, or tortilla soup.

Categories
Queso Chronicles Recipes

homemade creme fraiche

Cream, butter, cheese … oh, how I love them all. Today, let’s talk about creme fraiche, or french mature cream as Julia Child describes it. Creme fraiche is extremely versatile because it doesn’t separate when heated and it has a mild flavor that is still more distinct than heavy cream. Here at Chez Jojonoodle we use it quite often, but creme fraiche can’t always be found and is often expensive because it’s considered a specialty product. Thankfully, Julia Child noticed a similar phenomenon back in the 50s and included a recipe in her cookbook for making creme fraiche at home.  I decided it was time to plunge in.

Now, I’m about to tell you to do the most un-American of things, but stay with me. (After all, Julia Child told me to do it). First, heat some cream to a perfect bacteria-multiplying temperature of 85 degrees. And then let that sit out overnight at room temperature.

Homemade Creme Fraiche, from Julia Child’s Mastering the Art of French Cooking
1 cup heavy cream
1 t buttermilk

In a small saucepan, heat the cream and buttermilk to just under 85 degrees. Pour into a jar and loosely cover. Let sit out at room temperature (75 – 65 degrees) overnight, until thickened. Cover and refrigerate. Use on anything … from soups to crostini,  pizza to desserts. Strawberries and creme fraiche anyone?!?


Just try it … you won’t regret having this stuff on hand (even if it freaks you out to leave dairy at room temperature)!

-Emily

Categories
Uncategorized

julia child’s garlic soup and eggs coquette

I busted out Mastering the Art of French Cooking the other night. I was in the mood to cook something classic, yet more ambitious than usual. I chose two different recipes – one for garlic soup and another for poached-style eggs. I had all my ingredients, I was excited about the recipes, I felt good. And … it all went downhill from there.

A brief outline of the snowballing disasters:

The garlic soup is basically garlic, boiled, crushed and then infused into water. You turn this garlic water into a soup by adding an emulsion of eggs and olive oil. Got that far without issue. I was even proud of my very viscous emulsion. I carefully mixed the hot garlic water with the egg mixture as to not burn the eggs … another successful step. I tasted. It needed acid. I added a squeeze of lemon juice … and watched as my soup went from beautifully emulsified to curdled in seconds. Strike one.

I then decided to tackle the eggs. The idea was to bake eggs in ramekins with a little cream and butter and then top them with fresh chives and sauteed mushrooms. Delicious. Sadly, I failed to read the bit in recipe about starting the eggs on the stove to thicken the cream. Frustrated, I just tossed them in the oven in a water bath. After a few minutes they didn’t seem to be cooking at all. Strike two.

Jordan suggested we put the eggs under the broiler in an attempt to rescue dinner. It was tricky to move a small, too-full pan of water with ramekins sliding around into our drawer style broiler, but we did it. After a few minutes, we opened the broiler drawer to check on the eggs and the pan came sliding out, spilling an eggy, creamy, watery mess all over the kitchen floor. Of course, this commotion prompted Willow to come racing over to investigate. To sum things up, in our tiny galley kitchen we had myself, Jordan, a nosy dog, an open broiler door, a large eggy spill, and a pot of curdled soup. Strike three.

Amazingly, I tried to save dinner yet again by plating this disaster and serving to Jordan and myself.

We had green beans and sautéed mushrooms for dinner. I do love green beans.

-Emily

Categories
Recipes

butter! homemade butter!

Last night laying in bed, Jordan and I had a serious discussion. It went something like this …

“If you had to live the rest of your life without bacon or butter, which would it be?” “Ummmm, that’s a tough one. But as much as I love pork, especially bacon, I’m going to have to say butter.”

Then …

“If you had to live the rest of your life without coffee or butter, which would it be?” “Oh! Now that is just not fair. Ummmmm. Butter. A life without coffee is cruel, but butter just makes everything better. ” “So, butter?” “Yes, butter.”

Although the final decisions were hard to come to, the clear winner in these match-ups is butter, which brings us to today’s culinary experiment …

Heavy whipping cream -> Homemade butter! from Julia Child’s Mastering the Art of French Cooking 
1 pint heavy whipping cream
Salt (optional)
Garlic, herbs, pepper (optional)

Start with a pint of heavy whipping cream. I poured it into my kitchen aid stand mixer and set the dial to high speed (6-8). You could also use a hand mixer, or put the cream in a jar and shake that sucker for 20 minutes. I took the easy way out and it took about 8 minutes to get from cream to butter.

Beat the cream for several minutes, occasionally scraping down the sides of the bowl with a spatula. The cream will go through several stages. The transformation is pretty incredible. When the cream has turned into butter and buttermilk, you’ll know.

Stage 1: cream

Stage 2: whipped cream

Stage 3: extra-thick whipped cream

Stage 4: broken whipped cream (crumbly looking little bits)

Stage 5: separation of cream into butter and buttermilk!

Note: You may want to drape a kitchen towel over the mixer as to prevent splattering cream all over your kitchen. I realized this about half way through the process, and had a little extra cleaning up to do afterward.

Once the cream has separated into butter and buttermilk, strain the buttermilk out with a fine mesh sieve into a bowl. Place the butter in a separate bowl and press out more of the buttermilk with a wooden spoon. Pour off the buttermilk. Put the buttermilk aside and brainstorm a recipe using buttermilk.

Note: It is very important to get all of the buttermilk out of the butter. If you don’t remove all of the buttermilk from the butter, it will go rancid very quickly.  And that would be very, very sad.

After you’ve squeezed most of the buttermilk, pour a cup or two ice-cold water over the butter. Using the back of a wooden spoon, smash the butter around. Washing the butter with water helps to remove the last of the buttermilk. Pour off the water. Repeat this process until the water you pour off is clear. I did it three times.

Note: the water must be ice-cold as to not melt the butter solids.

Add salt to taste and mix throughly with a wooden spoon.

The final product! Salted butter (about 1/2 cup) and buttermilk (about 1 cup)!  YUM!

As an accompaniment to tonight’s dinner (Jordan will bring us more on that later), I decide to make Beurre d’ Ail garlic herb butter from Julia Child’s “Mastering the Art of French Cooking”.  I’ve reduced her recipe to a one meal for two serving size.

4 T fresh, salted butter

1 clove garlic

1 T  parsley (or other green herb), minced

Set the unpeeled clove of garlic in boiling water. Bring to a boil for 5 seconds. Remove from pot, rinse and peel. Bring to a boil again for 30 seconds more. Pound to a smooth paste in a mortar and pestle (or garlic press, if you don’t have a mortar and pestle).

Pound or cream the butter and garlic  together. Season with additional salt, pepper, and herbs.

Conclusions: The salted butter is divine! I can’t be more thrilled to have it on hand. Plus, making it was a fun (and quick!) science experiment. I highly recommend it! When the cream shifted into butter and buttermilk, Jordan could hear me shouting from the kitchen, “It worked! It really worked!” I’m also pretty happy to have a back-up plan for the next time I over-whip whipped cream. Lastly, the garlic herb butter was terrific on bread at dinner. The garlic flavor was strong so if you don’t love garlic like we do, scale back a bit. Homemade butter is the best!

-Emily