A few weekends ago to celebrate finishing another semester of graduate school for Jordan and launching version 2.0 of our app for me, we went up to visit our friend Katie. Katie and I were roommates in college. She was the first person I met at Georgetown and one of the big reasons I stuck around. She embraced my California quirks, somehow tolerated my insane homesickness and was generous enough to bring me along when she’d hang out with her older brother Chris and his friends. Georgetown was a much friendlier place because of knowing Katie, and there’s no way I would’ve made it through the first semester if we hadn’t met.
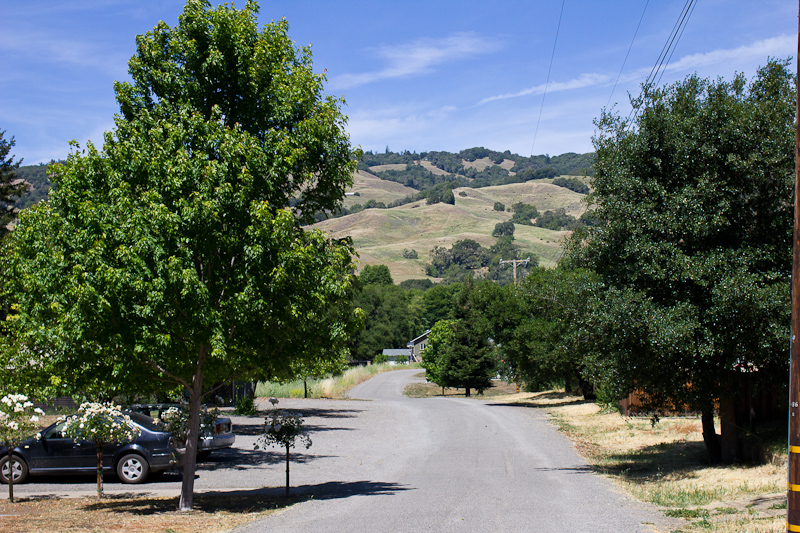
When we graduated, I moved to San Francisco to live with Jordan, and after year or two in DC, Katie also succumbed to California’s siren song. Now she works as a chef at the Boonville Hotel Restaurant, after working for a few years at the Philo Apple Farm, all just a few hours north of us in the Anderson Valley.


Our weekend in Boonville was perfect. I almost don’t want to write about it, and just keep it as a secret to savor all to myself, in case writing somehow makes the whole thing seem a little less magical. But this shrimp dish is too good not to share. So here goes.
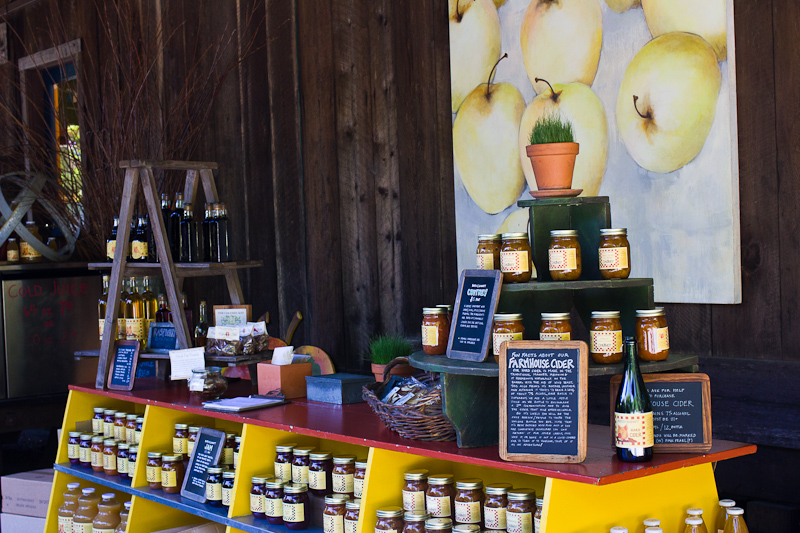
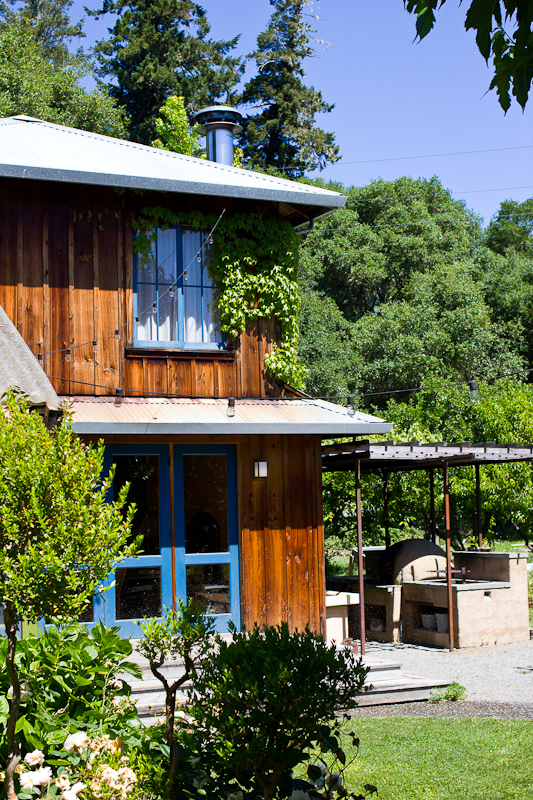
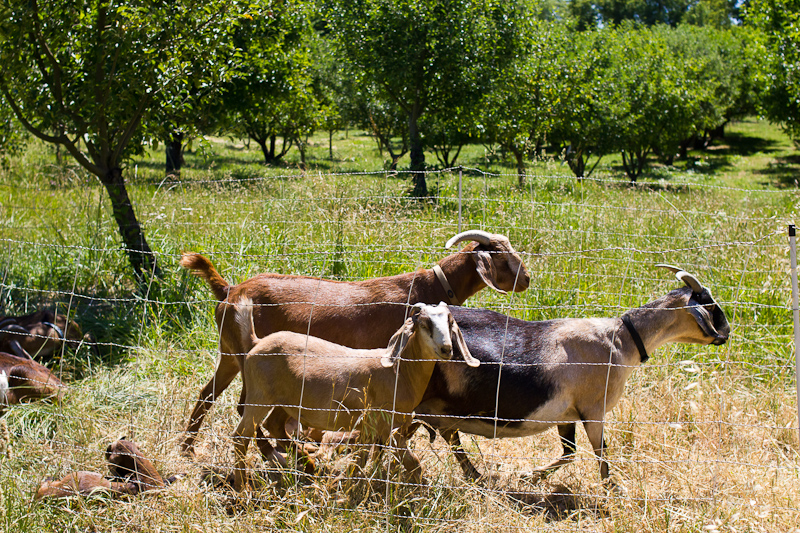
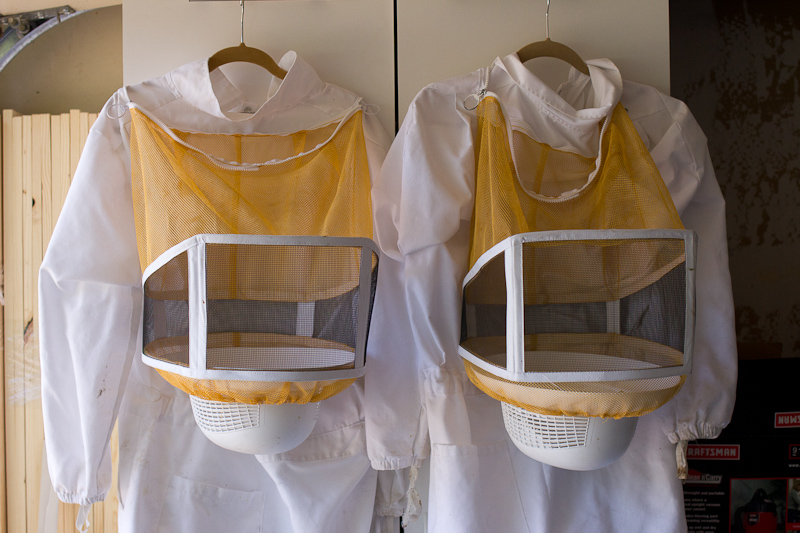
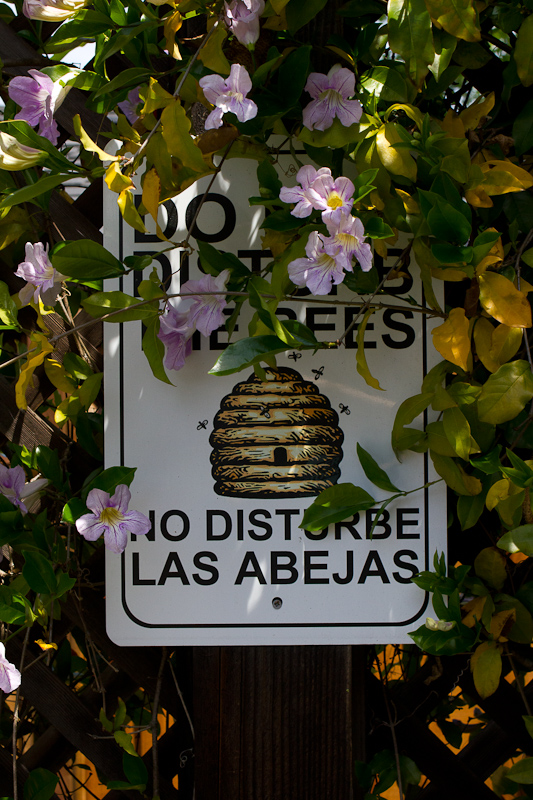
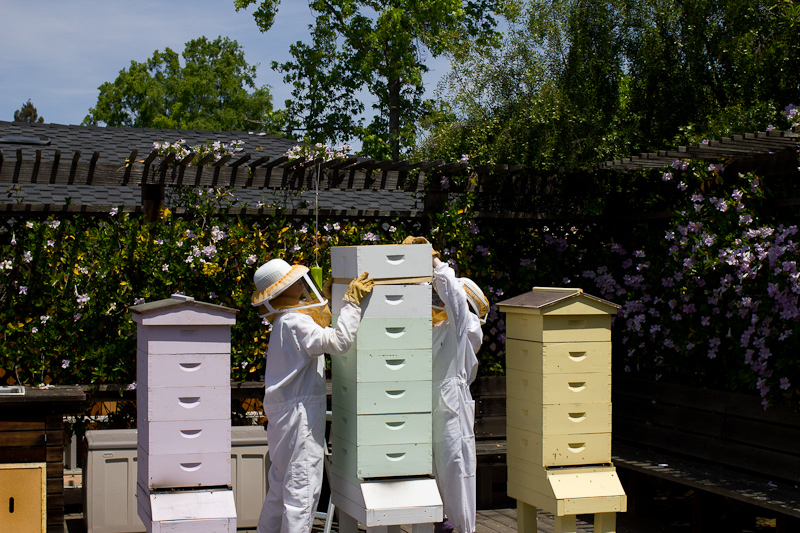
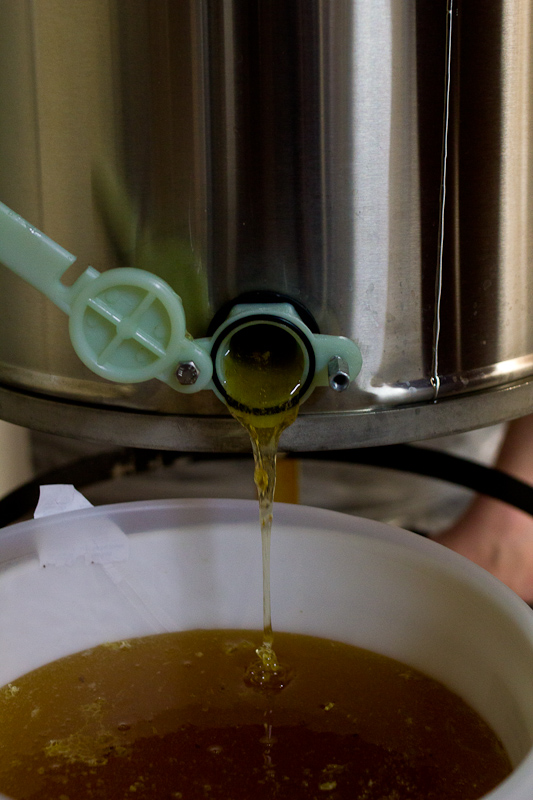
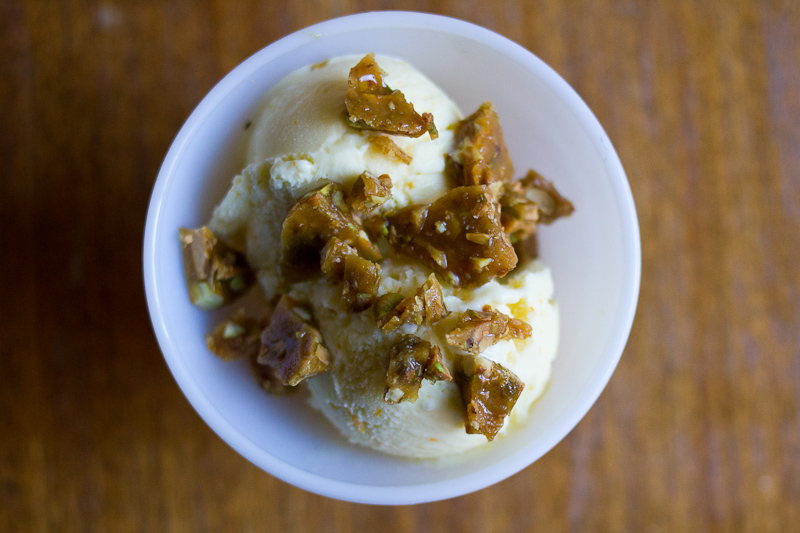
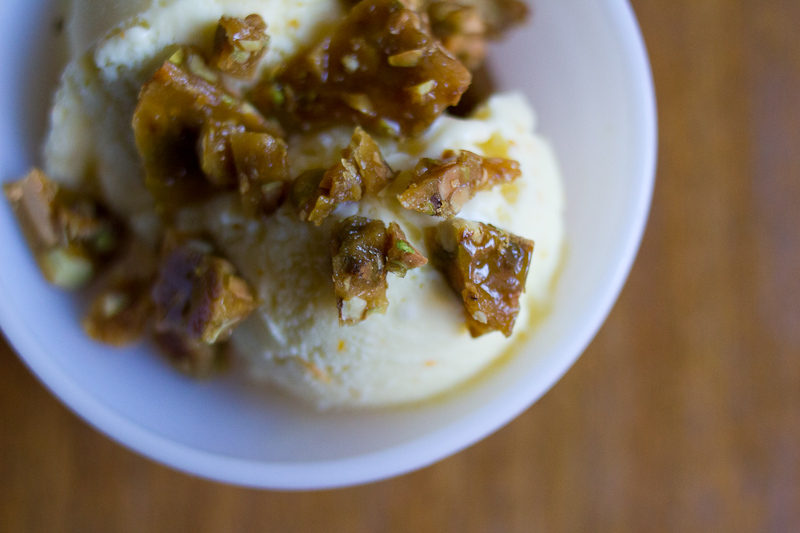
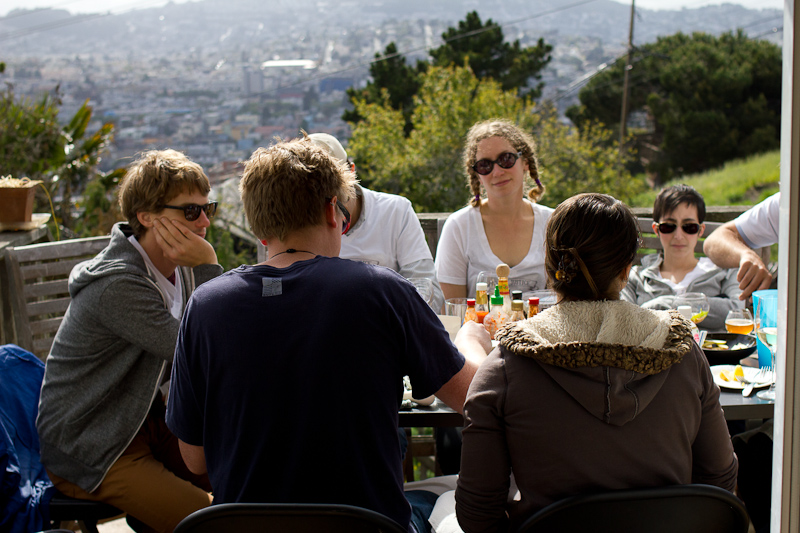
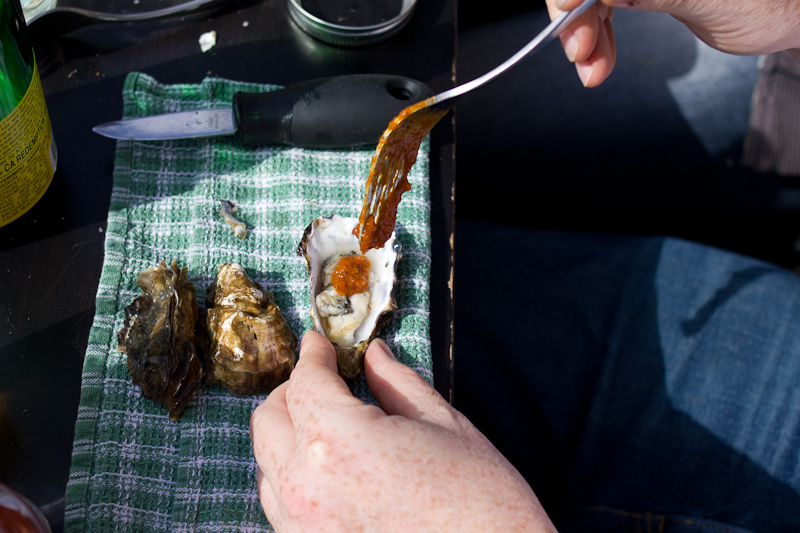
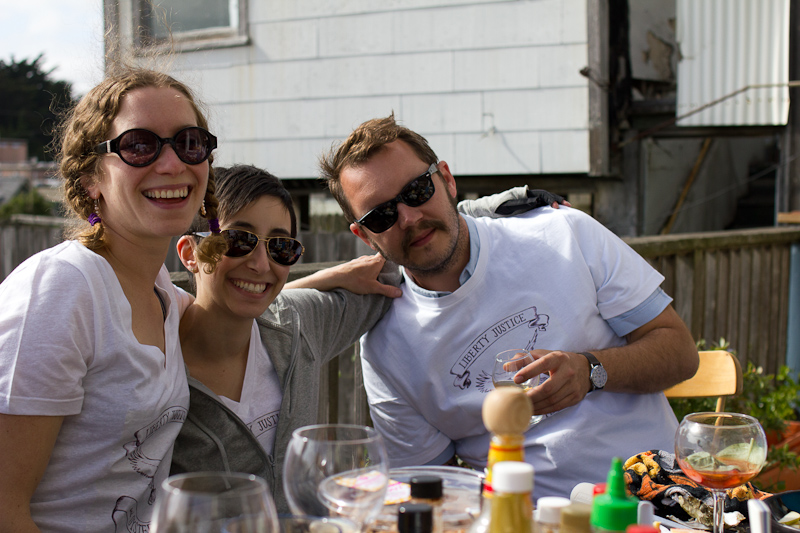
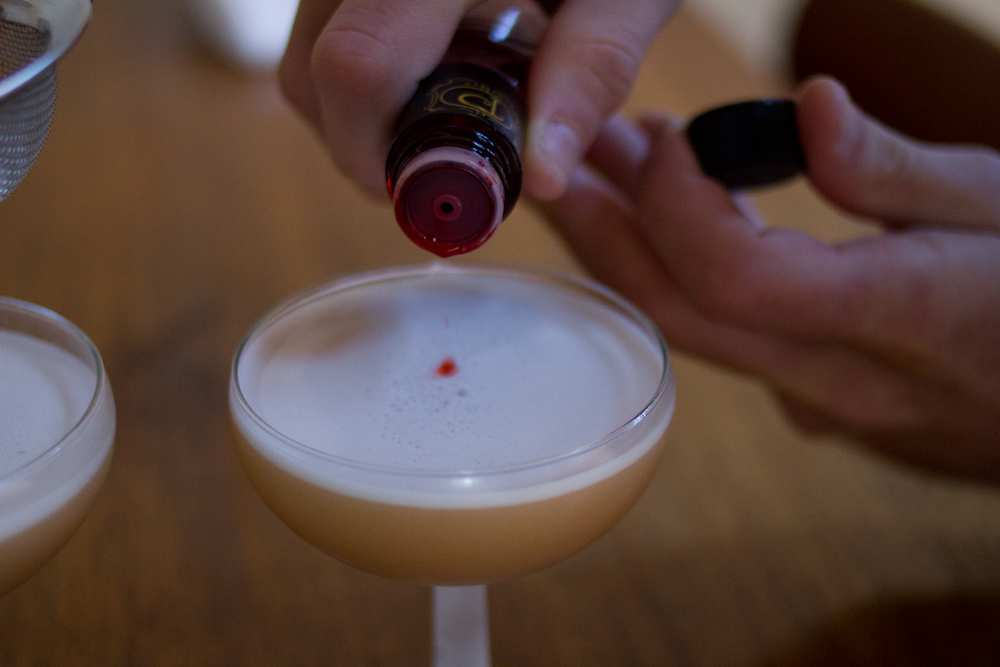
We stopped in at the restaurant to say hi to Katie and tour the kitchen, ate an ice cream cone, went hiking in an old growth redwood forest, gave my new-old 4×5 camera a spin, were treated to the best of meals at the hotel, stared up at a star-filled sky while standing next to a fire, ate breakfast with new friends on a patio with breathtaking views, got a personalized tour of The Apple Farm and its many plants and animals, drank hard cider under a canopy of mulberry trees, sat in the sun tasting wines and catching up.
The weather was wonderful, clear and warm. Jordan and I spent two whole days off in a row together. There wasn’t cell phone reception. We got to hang out with one of our most favorite people and see the beautiful life she’s built for herself first hand. We left Boonville more relaxed than we’d felt in months, our bellies full and hearts fuller.


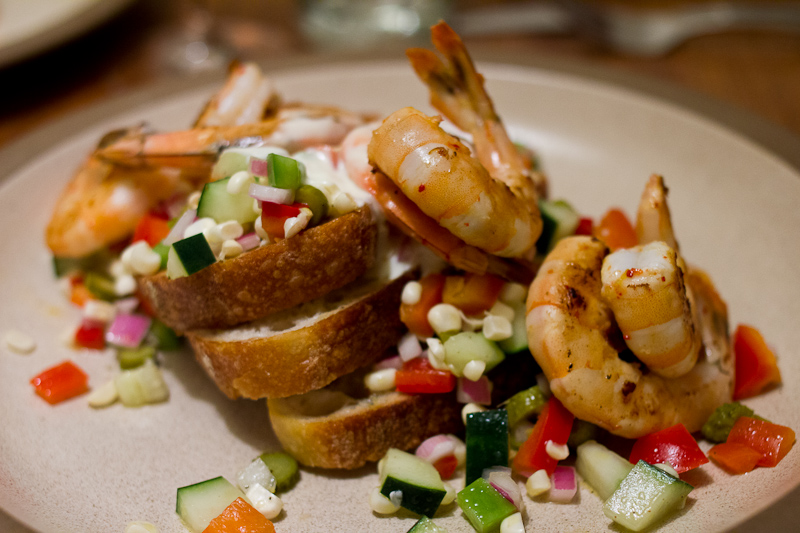
This shrimp dish was the first course of our meal at the Boonville Hotel. It’s a perfect dish for late spring or early summer when it’s starting to get warm and the corn is coming in. The charred flavor of grilled shrimp goes wonderfully with the creamy aioli, and that’s offset by the tangy vegetable salad. Grilled bread soaks up all the juices from the salad, and yet still has some chew to it. If you’re worried about the pickles being weird, they’re not. It all just works.
Shrimp Salpicon, adapted from the Boonville Hotel Restaurant
Serves four
For the shrimp
2 lbs fresh shrimp, peeled
1 lemon, zested
2 tablespoons olive oil
2 teaspoons pimente d’ville or a pinch of paprika and bit of cayenne
salt
For the salsa
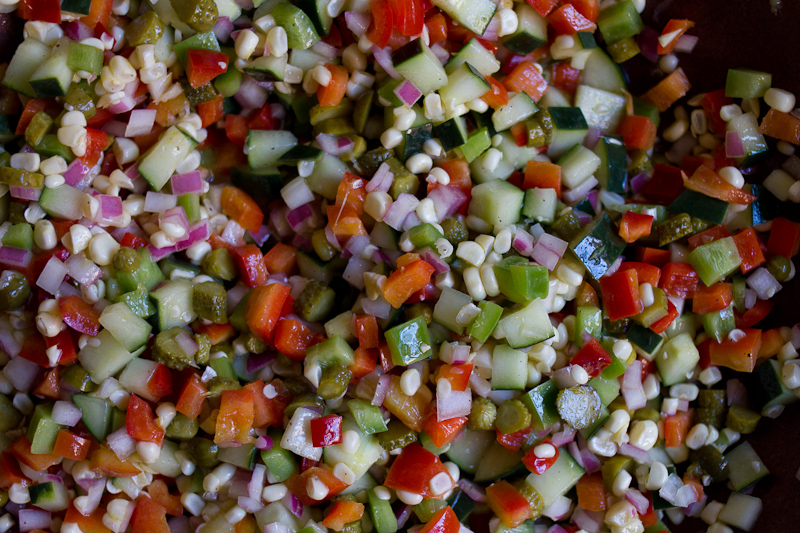
1 cucumber, diced
1 red onion, diced
2 – 3 bell peppers, diced
2 ears of corn, cut off the cob
1/2 cup cornichon, sliced
1/4 cup olive oil
1/4 cup white wine vinegar
juice from a lemon
salt and pepper
To assemble
12 slices of crusty bread
aioli, thinned with a little more lemon juice
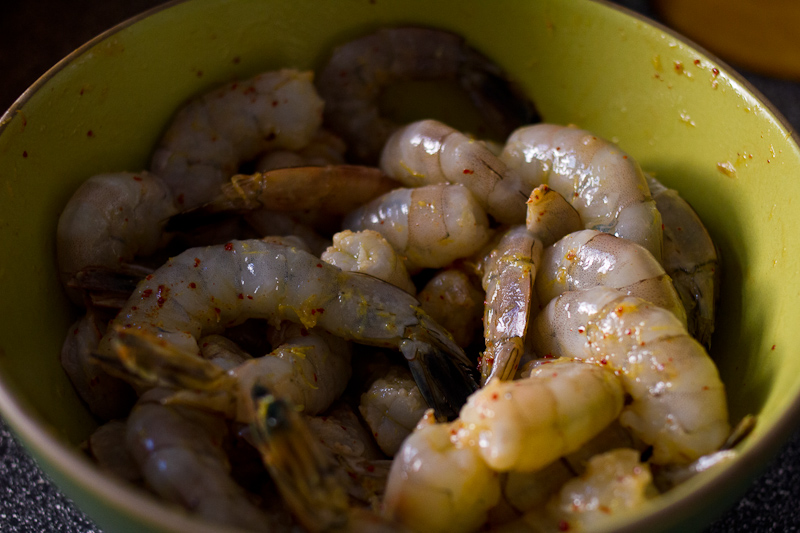
Clean the shrimp and put them in a bowl. Add the lemon zest, oil, pimente d’ville and season with a pinch of salt. Cover and refrigerate.
Dice up the vegetables and put them in a big bowl. Add the olive oil and vinegar and stir to combine. Season well with salt and pepper. The salad should be pretty tangy and have extra dressing pooling at the bottom of the bowl.
Slice the bread into 1/2 inch slices. Arrange them on a baking sheet and brush with olive oil. Under the broiler or on a grill, toast both sides of the bread.

After your bread is toasted, grill the shrimp. We cooked ours in a cast iron pan over medium-high heat. At the hotel they cooked them on the grill. Do whichever is easiest for you, but be sure not to overcook the shrimp. They only take 2 to 3 minutes per side.
To serve, put a few slices of toasted bread on a plate. Mound the salad on top, making sure to pour some of the extra dressing onto the bread. Top with the grilled shrimp and drizzle the whole thing with aioli. Enjoy!
-Emily


